Jack is a Windows desktop application to help you create animated jack- and jane-o'-lantern faces that you can project onto a pumpkin or other gourd, real or artificial, in order to frighten (or delight-en) your trick-or-treaters and other victims.
Jack is brand new. You're officially a beta tester. Jack may have bugs and comes with no warranty. It is not (currently) open source, but it is free to use and share. If you have any question that starts with “Can Jack do ...?” the answer is most likely “Not yet.” Stay tuned for updates.
You'll need a PC running Windows 7 or higher. The latest version of the software can be downloaded from:
http://www.aidtopia.com/software/jack
If you want to recommend it to friends, please send them to that web address to make sure they get the latest version.
Jack does not need to be installed. It's just a single file that you can copy to a folder or your desktop.
Double-click the icon to start the program. Unless you have a huge screen, you probably want to “maximize” the window.
Save your work early and often. Definitely save it before rendering a video. To save, choose Save or Save As from the File menu. You may also use Ctrl+S as a keyboard shortcut.
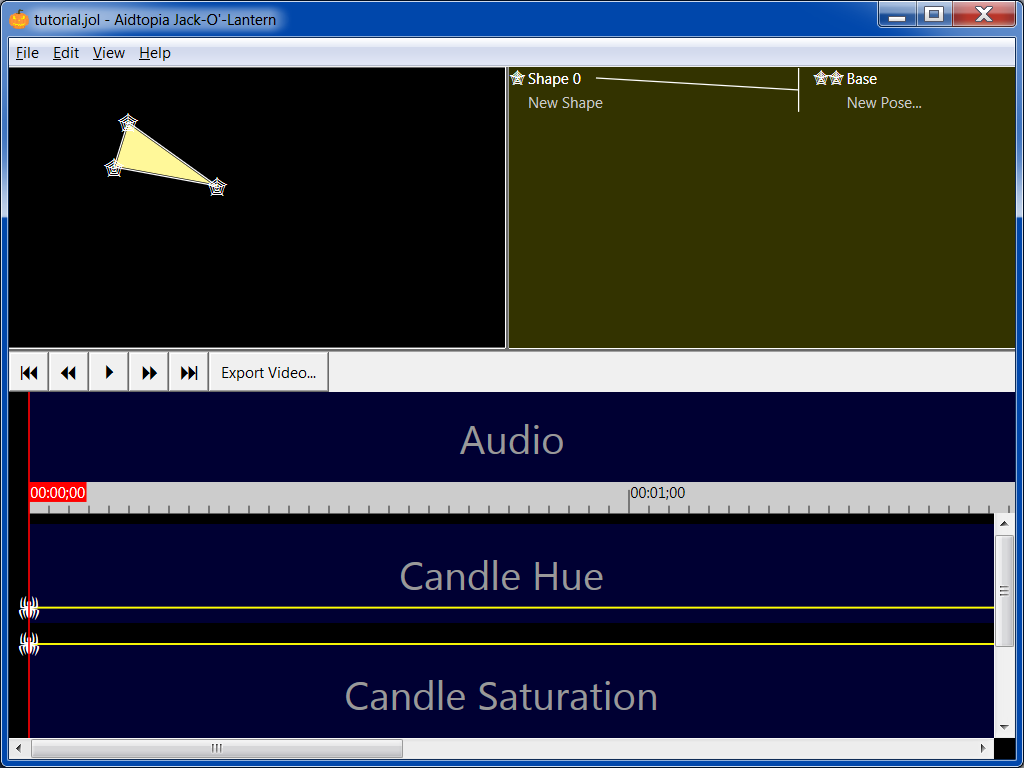
Once you've saved your JOL, you'll see the file name in the title bar of the application. When you make changes, you'll see an asterisk (*) next to the file name. The asterisk tells you the version you're working with is different than the one on the disk.
Actually, there is, with Undo. Every change you make to your JOL (jack-o'-lantern) can be undone, until you exit the program. The easiest way to Undo is Ctrl+Z from the keyboard, but you can also find it under the Edit menu. If you Undo more than you intended, there's also a Redo command (Ctrl+Y). Feel free to try things with the confidence that you can back out of a bad idea.
Jack has a ... distinctive ... color scheme and aesthetic. It's sort of a Frankenstein mashup of a classic Windows application and Spirit Halloween packaging material.
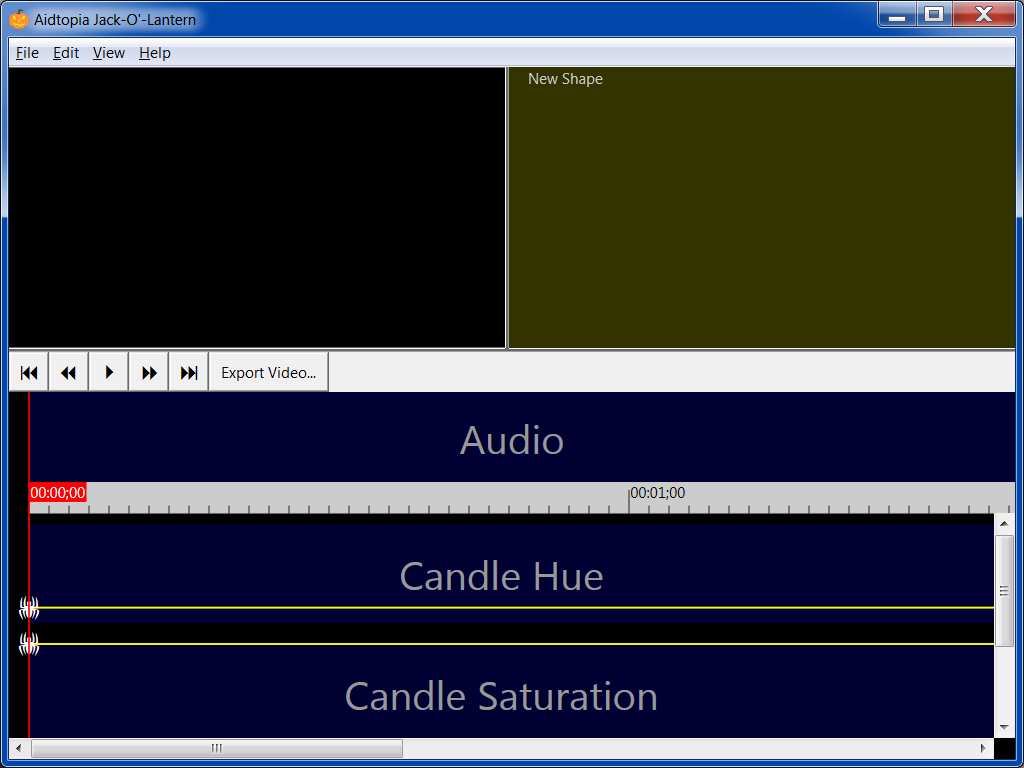
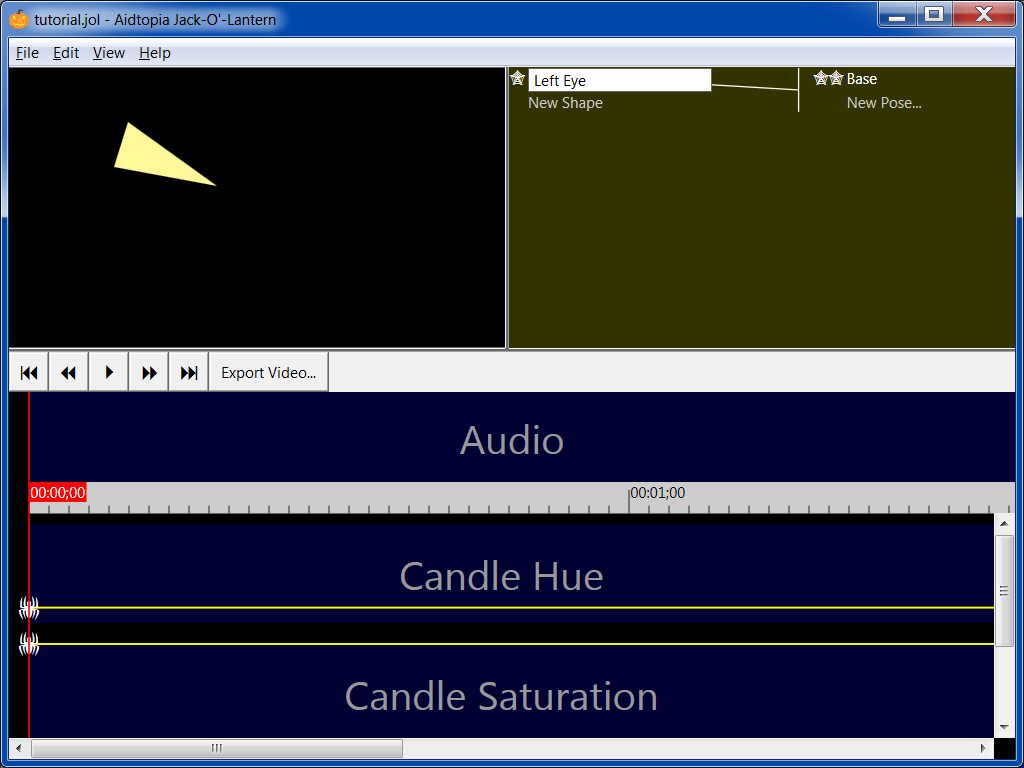
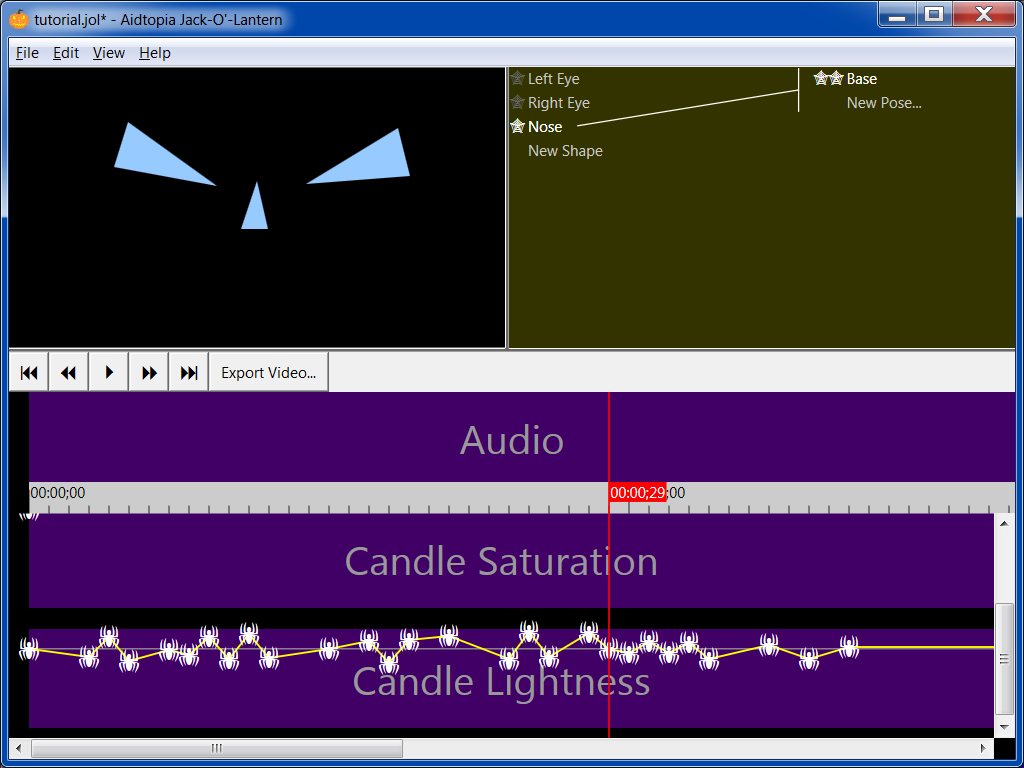
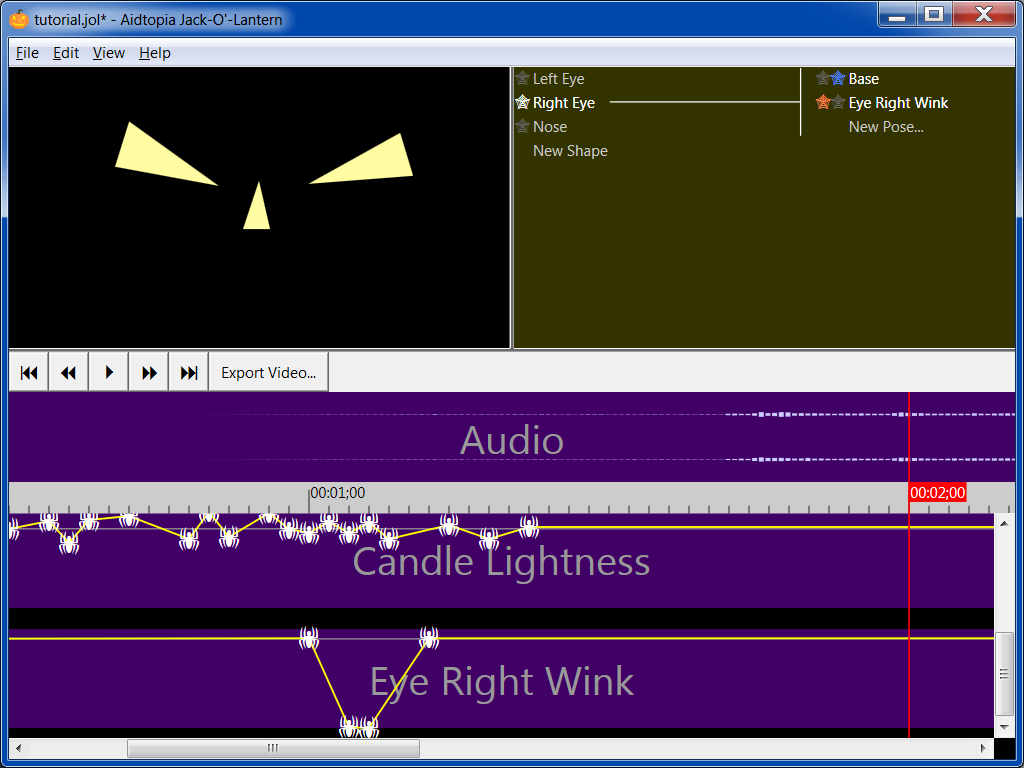
There are three main panes: The upper left rectangle is where you'll see your pumpkin face come to life; I call it the “Preview Pane.” The sickly yellow-green pane to the right of that is the “Shape Pane,” which will help you navigate the structure of your model. The garish bottom pane is the “Timeline.” Wedged between them are the transport buttons: home, rewind, play/pause, fast forward, and end.
Jack tries to size the panes in a reasonable way. If you want something unreasonable, you can click and drag the bars between the panes to change the sizes.
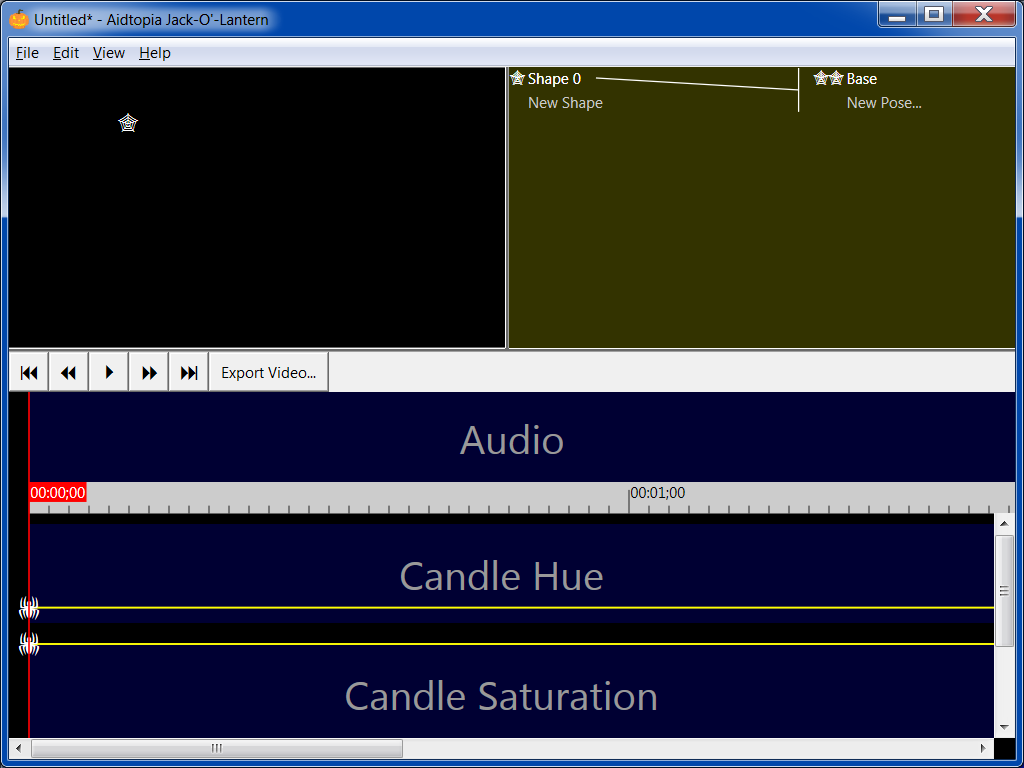
Click in the Preview Pane. You should see a little spider web.
Now click in two other spots in the Preview Pane. Congratulations, you just carved an eye, or maybe a nose, in your virtual pumpkin.
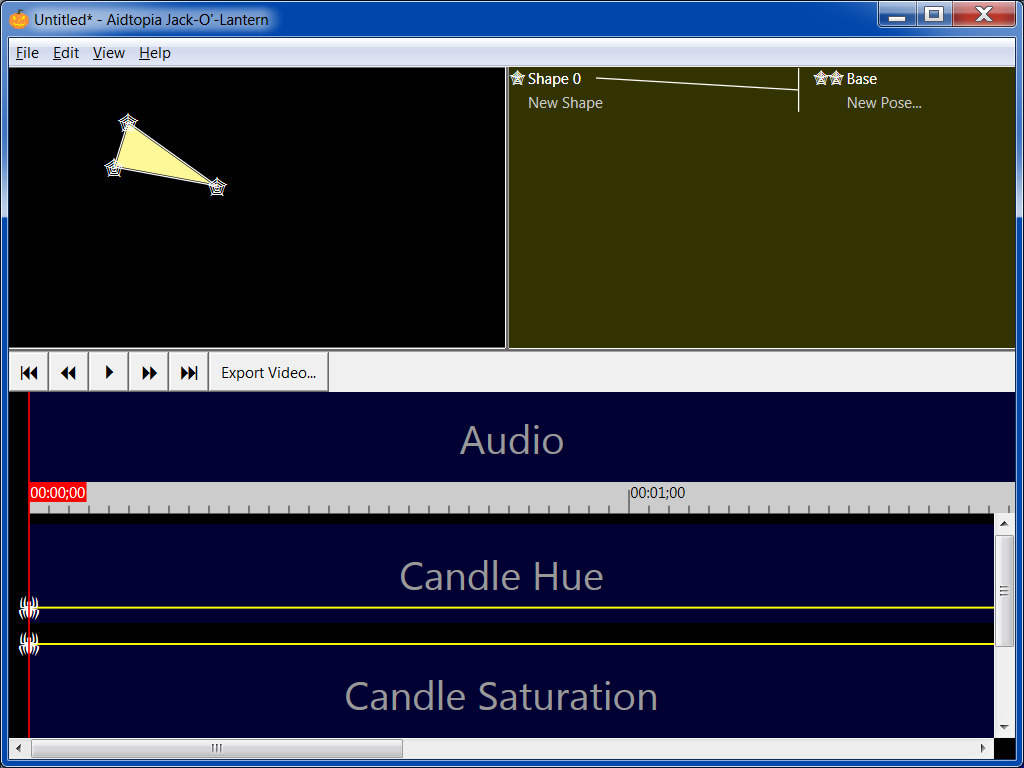
The spider webs aren't part of the face. They're “handles” you can use to change the shape. Click on one of the spider webs and hold the button as you drag it around. Notice how you can change the shape.
You can also move all the points of the current shape at once. Click in the shape while holding down the Shift key, and then move the mouse. Position the shape where you think it looks good.
This is a great time to try out Undo and Redo. Also see what happens as you click more points in the window.
Now is also a good time to save your JOL. Press Ctrl+S or choose Save As from the File menu and choose a file name. Once the name is set, you can just press Ctrl+S in the future, and Jack will silently update your JOL file.
In the Shape Pane, you'll notice that there's now a “Shape 0” listed in the left column. “Shape 0” probably isn't a useful name, so let's rename it. Right-click on “Shape 0” and choose Rename Shape from the pop-up menu. Give it a name like “Left Eye” or “Nose.” The name is just for your benefit, so choose something that's helpful for you.
Don't worry about (or click on) the column on the right side of the Shape Pane yet. We'll get to that soon.
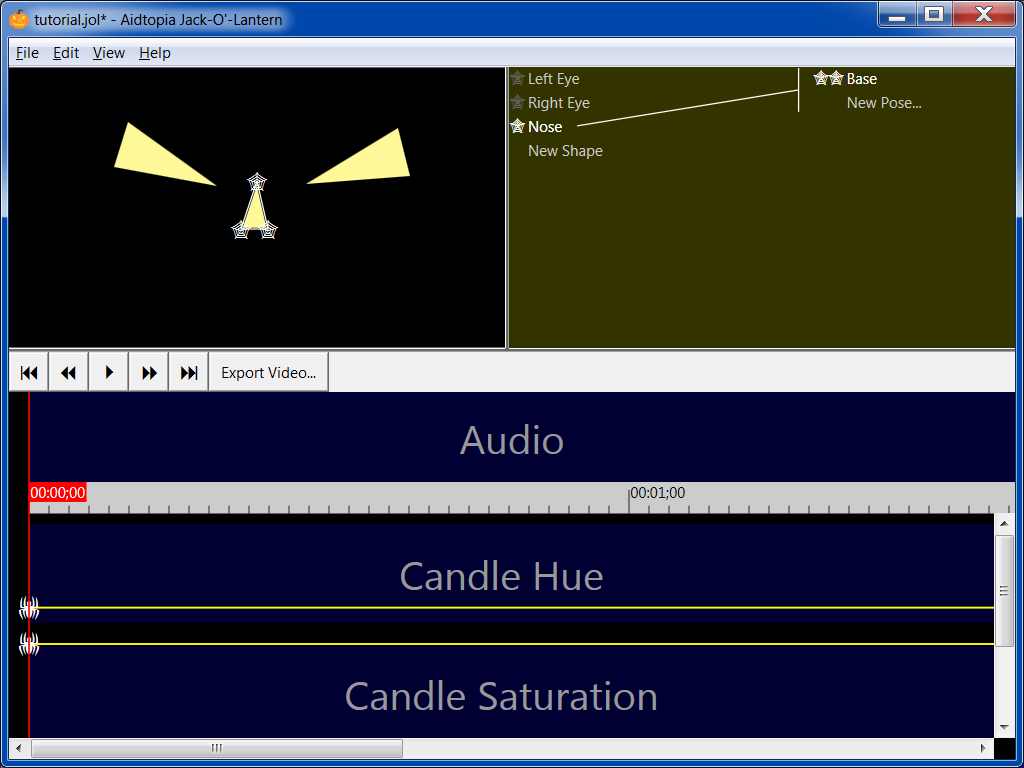
Make one or two more shapes. Click on “New Shape” in the Shape Pane and then click in the Preview Pane to add points to your new shape. Name the new shapes, and save your work.
At this point, you should have two eyes and maybe a nose. You can make them as detailed as you like, but for learning purposes today, use only three to five points for each shape.
Turn your attention to the timeline. The top “track” of the timeline is for your audio, which is why it's labeled “Audio.” Duh! We'll add audio soon, but not just yet.
Below the audio track is a time scale. Each division is one frame of video. By default, Jack uses 29.97 frames per second. That weird number is actually a standard frame rate. A lot of people call it 30 frames per second, which is plenty accurate for thinking about your video.
The “timestamps” on the timeline tell you how far into the animation you are. “01:02;13” means 1 minute, 2 seconds, and 13 frames since the beginning. The semicolon means the frames are numbered using “30-drop,” which is a scheme for compensating between the actual frame rate (29.97) and the nominal frame rate (30). Don't sweat the details; Jack will do that for you.
If you want to see more or less time at once, you can zoom out or in. It's easiest to use the keyboard shortcuts Ctrl++/Ctrl+-, but you can also access zoom from the View menu, the right-click menu on the timeline, or, if you have the equipment, you can spin the scroll wheel on the mouse while holding the Ctrl key. If you go too far in either extreme with the zoom setting, hit Ctrl+0 (zero) to reset the zoom to the default level.
The blood red line with the time flag on it is the time cursor. It tells you where you are in the animation. Right now, you're probably at the beginning. If you click on the time scale, it'll jump to that point. The rewind and fast-forward buttons will move the time cursor to the beginning and end of your animation. (The “end” of your animation at this point is frame 00:00;01.)
You can also move through time using the left and right arrow keys. If you hold the Ctrl key down as you press the arrow keys, the time cursor will move 30 frames (one second) at a time.
The tracks beneath the time scale are the “Knobs.” A knob is a parameter you can change to make something happen in your animation. The horizontal lines show how the various knobs change with time.
The gray horizontal lines in the knobs are reference lines to indicate the nominal or typical value. The reference lines on the candle knobs are suggested nominal values for a yellowish candle.
Click on the spider at the left of the “Candle Hue” track and drag it up and down. See how the color of your shapes changes?
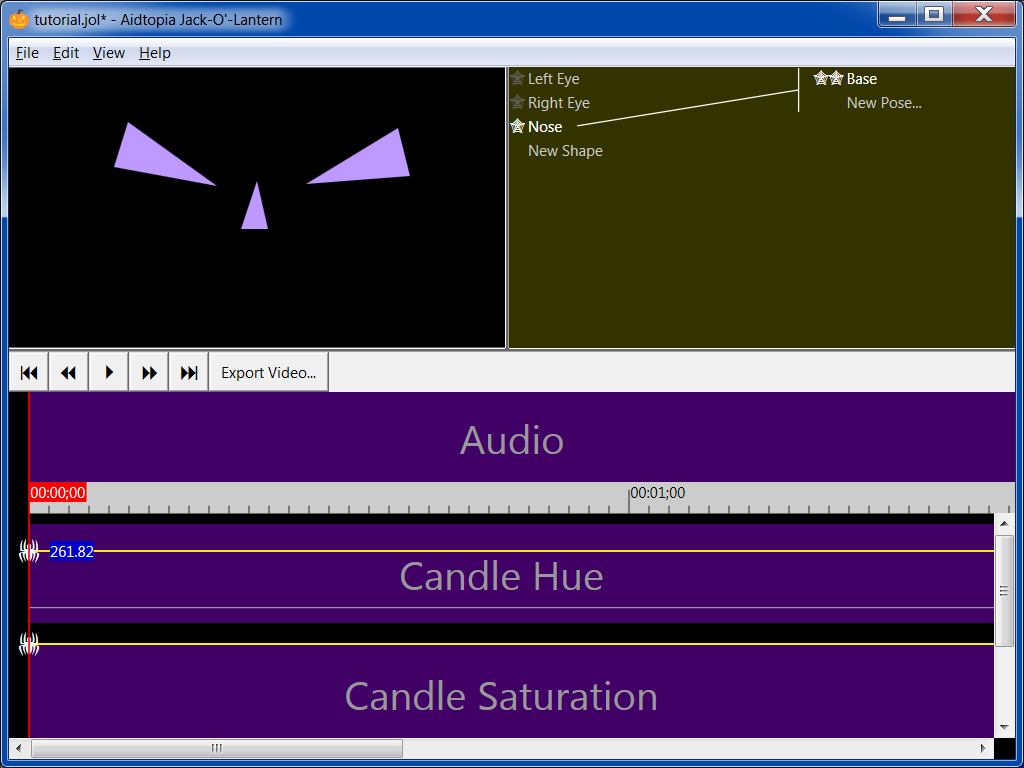
There are three knobs that, together, control the color of your candle.
Saturation and Lightness interact. For the most vivid colors, move the Candle Lightness to the middle of its range (0.5) and the Candle Saturation to the top of its range (1.0).
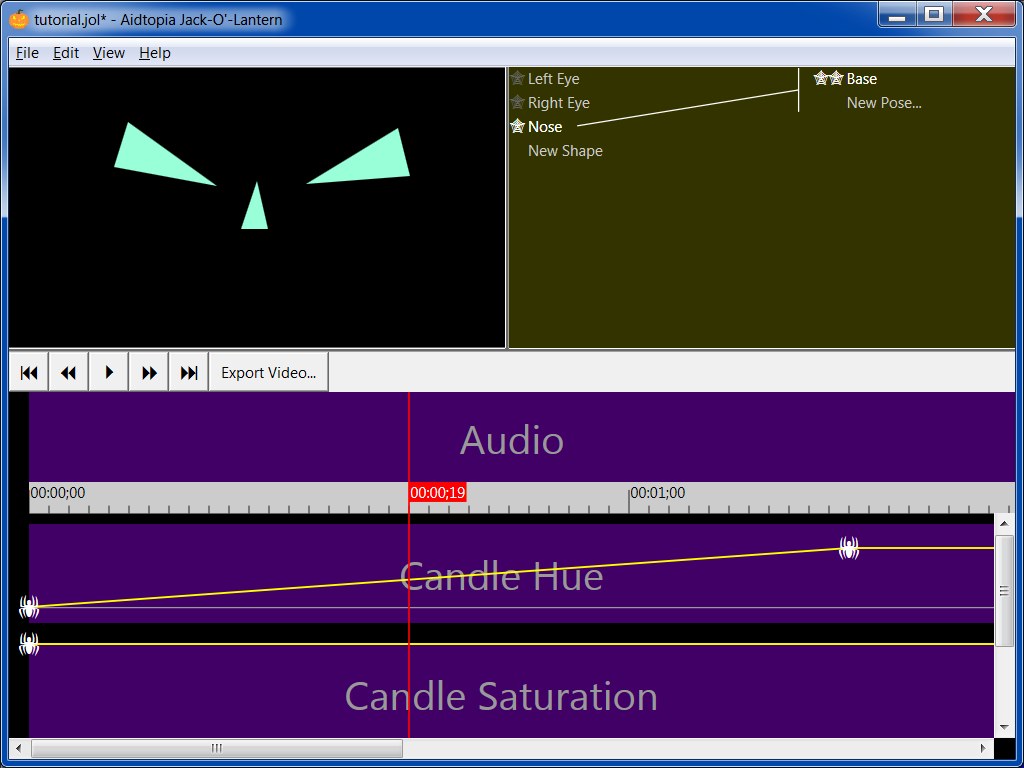
One or two seconds in, click on one of the Candle knobs. A new spider will appear, and a diagonal line will extend from the first spider to the second spider to show how the value of that knob will change over time. Move the time cursor back and forth between the spiders and watch how the color of your shapes changes.
If you want your candle to flicker, you could add a bunch of spiders to Candle Lightness, making a zig-zag pattern, like a mountain range.
Play your animation by hitting the Home button (or Home key) and then the Play button (or F5 key). Experiment and replay.
You can move spiders by dragging them. You can delete one by right clicking on it and choosing Delete Spider from the popup menu. You can add more just by clicking. For a given knob, you cannot have more than one spider per frame.
Your JOL comes with knobs for the candle, but you can make additional ones to connect to Poses in order make things move. What's a Pose? Glad you asked. Read on.
A pose is an alternate version of a shape. It's easiest to explain by example. Let's make your pumpkin face wink.
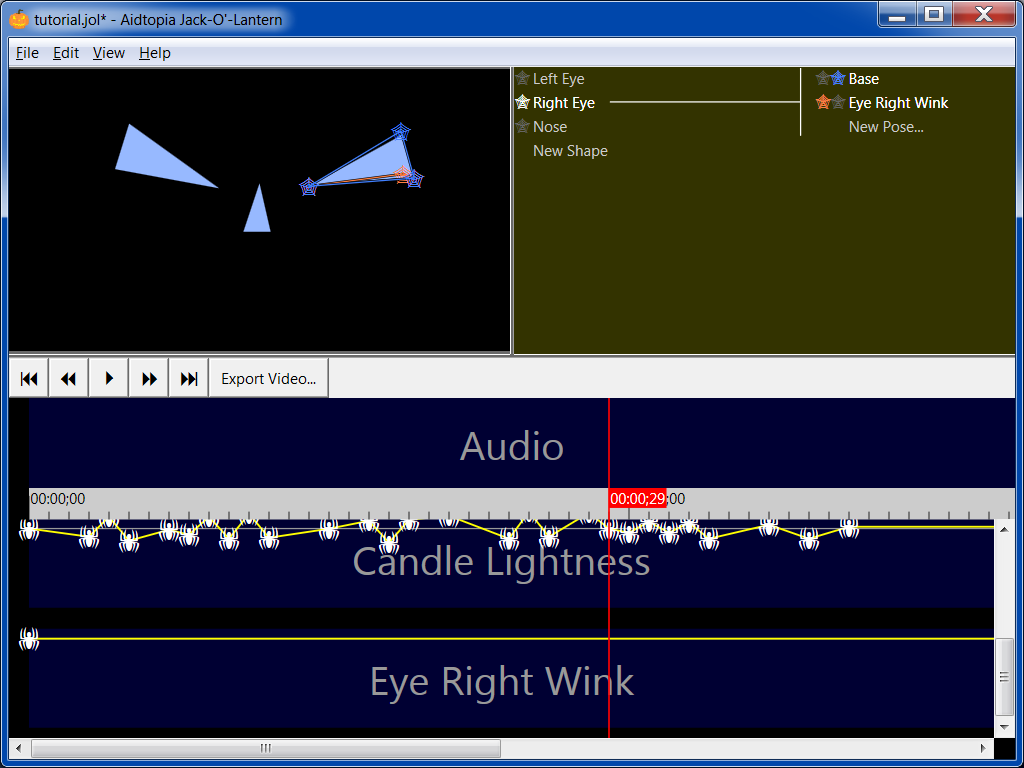
With the right eye selected, click on New Pose... in the right column of the Shape Pane. A menu will appear that will let you choose from which knob will control the new pose. Select Eye Right Wink.

Your shape now has two identical poses. What you want to do is to change one of the poses so you can animate the eye. Notice that the spider webs on the corners of the eye have changed color. This is your clue that you have two poses selected.
The new pose is red and the old pose is blue. The right column of the shape pane will help you remember which is which, because you'll see a red web next to the new pose and a blue web next to the base pose. You can change which poses are selected (or which one is red and which is blue) by clicking on the webs in the Shape Pane.
Click and drag the top spider web(s) of the eye down so that the eye becomes a thin slit. This will be the “closed” pose for the eye.
With two poses selected, you can adjust the points of either pose. When points overlap, Jack will always assume you want the red one. If you need to pick the other one, swap the colors by clicking on the webs next to the pose in the Shape Pane.
If you create a pose you don't want, you can delete it by right-clicking on it in the right column of the Shape Pane and choosing Delete Pose from the pop-up menu.
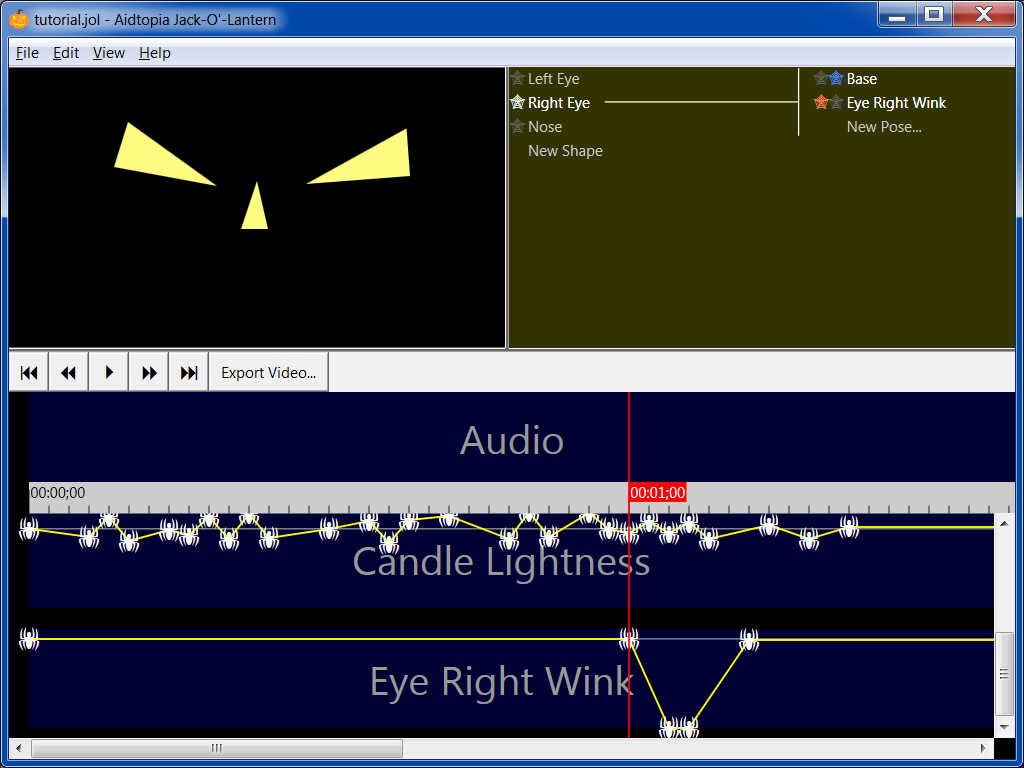
In the Timeline, find the knob you chose for the new Pose (you may have to scroll down). Click on the spider at the left side, and drag it up and down. Watch how the eye transforms from one Pose to the other. This is the key to animation in Jack. You can add spiders to the knob along the timeline to make the eye open or close at will.
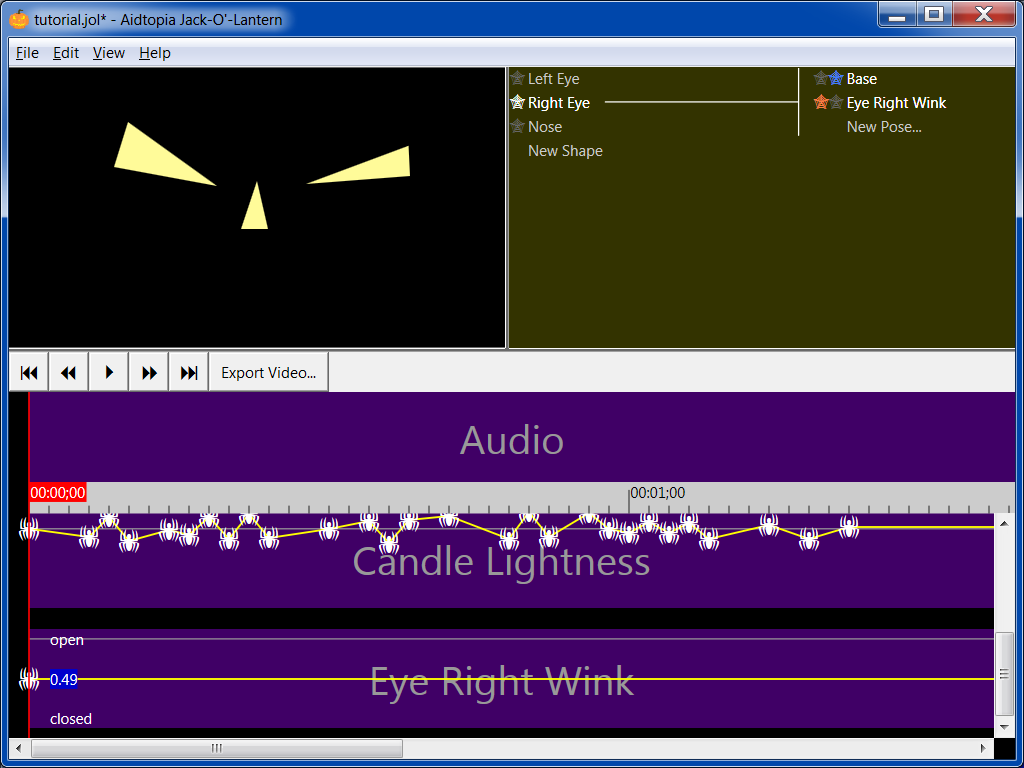
You can place spiders in the Eye Right Wink track to control how much the eye is open or closed at different points in time.
If you like, repeat the process for the other eye. If you connect the second eye's poses to the same knob, the eyes will always open and close together. If you want to sometimes have them open and close independently, connect them to separate knobs.
Until you get used to animation in Jack, I suggest having no more than two poses per shape. Jack will certainly let you use more, and that can be a powerful tool, but it takes some time to develop an intuition for how three or more poses interact.
If your pumpkin is going to talk or sing, you're going to need to provide an audio track. You can right-click in the Audio track and choose Load Audio... from the pop-up menu. Alternatively, you can choose Load Audio... from the Edit menu on the top menu bar.
A dialog box will materialize before your eyes to let you select the audio file you'd like to use. Jack can work with a variety of sound file types, including MP3, Wave, AAC, and WMA. In many cases, you can even select a video file and Jack will extract the audio track. (Jack leans heavily on your operating system to support the various file types, so if the one you want won't load, blame your OS vendor.)
If you're playing along and don't have your own audio track handy, you can download and use this one.
Jack can work with mono or stereo audio clips. If you load a sound file that has more than two tracks, Jack will assume the first two are the left and right channels and ignore the rest. The Audio track in the timeline will show one waveform if you load a monaural file or two if you load a stereo one. The waveforms roughly indicate the loudness of the audio over time.
Jack will make an uncompressed copy of the audio clip and include it inside the JOL file when you save your project. This has two implications: First, you don't need to keep track of the original audio file once you've imported it. Second, your JOL file size may increase substantially when you add an audio track.
Jack doesn't provide any support for editing the audio track, just for synchronizing animations to it. So use audio editing software, like Audacity, to get the audio just the way you want it before importing it into Jack.
Jack encourages you to use original audio.
Someday, there will be more information here.
When you're happy with your animation and are ready to materialize it into a proper video file, first make sure your animation is saved. To make your video, Jack may use software libraries that came with your video card, and sometimes those libraries aren't quite as reliable as they should be. We'd hate for you to lose any work.
Once your work is saved, choose Export Video (from the File menu, or by clicking the button next to the transport controls, or by pressing Ctrl+F5).
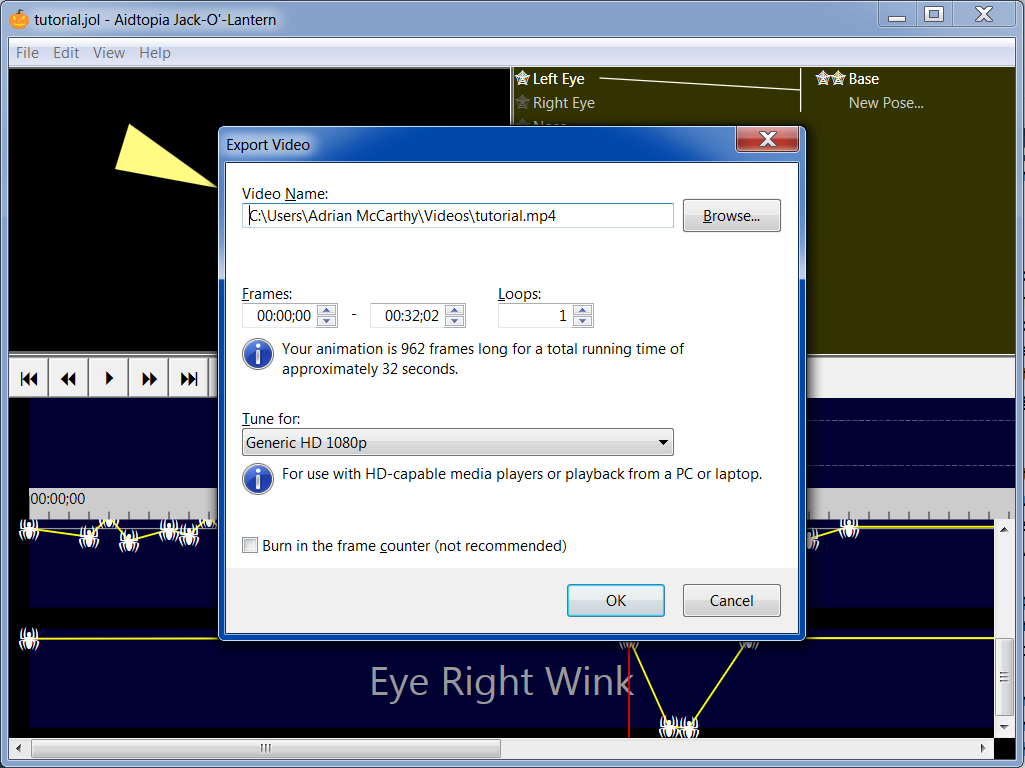
A dialog box will appear out of thin air to let you choose a file name, how many times you want the animation to repeat, and what subset of the timeline should be rendered. Jack will provide default values for all these options.
By default, your video will be saved to your Videos library, it will have the same name as your animation file, and the extension will be .mp4. If you want to change it, click the Browse button. Regardless of what you call your file and which folder you save it to, Jack strongly recommends you use the .mp4 extension. Some video software will expect this extension and might refuse to play it if you choose something else.
The loops option allows you to make a longer video that will repeat your animation multiple times. Even if the media player you'll be using with your projector has a loop feature, many of them will “glitch” each time the video restarts. By having a longer video with multiple loops of your animation, there will be less chance your victims will witness one of these restart glitches.
Jack can “tune” your video for various media players. One of the Generic HD options will work fine for most players, but if you use one of the media players on the list, you'll get slightly better results if you choose it. These tunings are based on the author's experiments with various media players commonly used by haunters and are not necessarily endorsed by the manufacturers.
Jack will fill out the start and stop times to include all of your animation's motion and sound, but you can change them. For example, you might want to make a test video that's just a few seconds long in order to test your projector. Or perhaps your animation has a five-second intro that you've decided not to include. The format for the time fields is minutes:seconds;frames, but Jack isn't real picky about how you type values into these fields. Remember that a frame is about 1/30 of a second.
By default, Jack will create a generic Full HD 1080p video that should play in almost any media player and can be committed to a DVD or Blu-ray disc. But Jack can also tune your video for use on many types of media players used by haunters. If your media player is in the “Tune for” list, you should probably choose it. Jack will adjust the resolution, frame rate, and compression factors to get the best results with that media player.
Finally, there is a checkbox that you can tick to “burn” a frame counter onto the video. This can be useful for testing the capabilities of a video player but it's not a feature you'd want to use in your final draft.
Once you click OK, Jack will start making an MPEG-4 video file of your animation. You won't be able to do anything else with Jack during this time. Depending on the length of your animation, this may take several seconds or minutes.
Once completed, you can test your file with any video player on your computer. You can also copy the file to an SD card or USB drive or burn it to a DVD or Blu-ray disc.