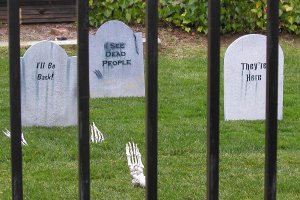
Choose a shape for your tombstone. I suggest keeping it simple for your first one. Stop by a real cemetary and discover the variety of shapes and sizes.

I was inspired by a picture I saw on the Internet of a marker at the original burial site of Edgar Allan Poe. My tombstone is not an exact copy of this one, but I drew many of the elements from it.

Purchase the foam insulation you will use for construction. Typically, they come in 4×8-foot sheets of varying thicknesses. I was lucky enough to find a 2×4-foot sheet, which is plenty to make a single marker. Real stones are thick, so buy the thickest piece you can get (e.g., 2-inch). If you can't find it that thick, you can glue separate sheets together.
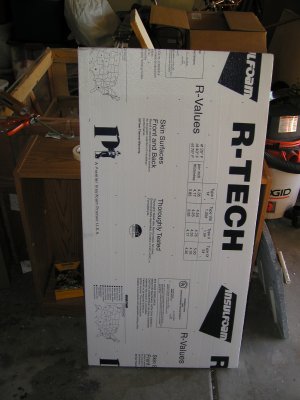
If you were suckered into buying the cheap tombstones from a previous Halloween, you can use them as your raw material by carving the flip side and repainting it. The only problem with the cheap stones is that they are unrealistically thin.
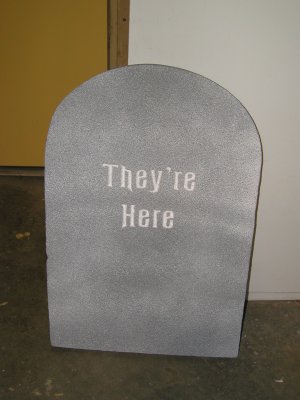
The raw foam often comes with a silver backing or a plastic coating with the logos on it. Carefully peel this backings away.
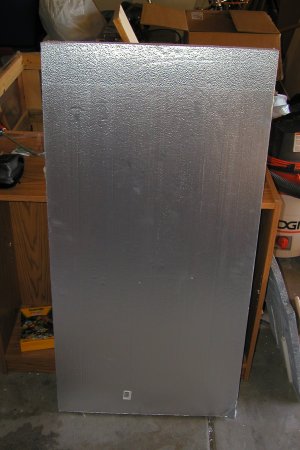
Plan your tombstone shape and text. I use a word processing program to print the text in a large font. It typically takes several pages, so cut the sheets up and place them in position using thumbtacks. I used a marker to trace the shape I wanted. Once you have it right, remove the text sheets and cut the foam. I used a power jigsaw with a fine-toothed blade. Others use a hacksaw blade with cloth and tape around one end as a makeshift handle. Either method works fine. Take your time. Regardless of your choice of cutting tool, foam dust will get everywhere, so wear eye protection and a dust mask. Vacuum early and often.

Here's the most difficult step. Do it now before you invest time in the carving. To help hold the gravestone upright and in place in case of wind, we're going to attach PVC pipe to the foam. When it's finished, you can pound stakes into the ground and slip the PVC sleeves over the pipe for stability. If you're using thick foam, you'll need to drill 3/4-inch holes (assuming you are using 1/2-inch inner-diameter pipe) from the bottom. Drilling is hard to do, and you'll need a long 3/4-inch drill bit. If you're gluing thinner sheets together, cut channels in them to hold the PVC pipe and glue the PVC into place when you combine the layers. If you're modifying el-cheapo stones with adding extra thickness, cut slight channels in the back with a knife and glue the PVC into place. The exact length depends a lot on your overall dimensions. I'd recommend at least two 6-inch PVC sleeves for the smallest gravestones.
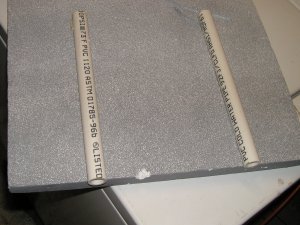
Since we're starting to glue, remember that most glues will dissolve foam. You need to buy a glue that's specifically made for this. Liquid Nails Foamboard Projects is reasonably priced and comes in convenient caulking gun tubes. Make sure you follow the directions for proper hold. Don't mess with it once the glue is setting. Rushing it will only lead to disaster.

Once the glue is dry, you're ready to carve your text and other designs. Use thumbtacks to put your text guides back onto the foam. Put a sharp blade in you X-Acto knife, and re-read Juggernaut's Carving Technique. Cut right through your paper along each side of each stroke of each letter. Hold the knife at an angle to make a good V-groove.
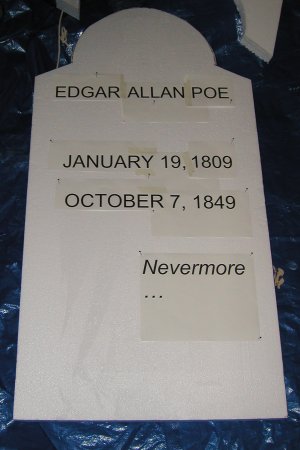
You may be surprised how exact your lettering looks if you use a computer-printed guide.

Optional Embellishments: I wanted to include the raven bas relief from the image that inspired my stone. Many great tombstones don't have such details, and it can be hard to make such embellishments look good, so don't feel compelled to attempt such an endeavor on your first gravestone. I've seen many people include doll parts and plastic skulls with great success, but I couldn't find a suitable pre-made raven. So I used Crayola Modeling Magic and my crude artistic abilities and some bird photos from the web. Once Modeling Magic dries, it's light and still somewhat pliable. I simply glued it into place. The edges all curled up, so I used Elmer's Wood Filler to fill the gaps around the bird.

If you want to make a base, now is the time. I used a scrap of foam to make a very simple base. Unfortunately, I didn't do a good job of lining up the holes for the PVC sleeves, so it's pretty crooked. Oh well, old gravestones are never in perfect condition. Make sure you use wood filler to fill in any large tack holes, accidental dings, and seams between different pieces.

I'm no expert at painting, but here's what I know. Use a dark color in the carved areas first. Use a small artist brush to get into the deep crevices. This takes time. Use your light color over the top with a roller or wide brush. Be careful not to let the light color ooze into the carved sections. Cover all surfaces (including the bottom!) fully to help seal the foam from moisture. To get that weathered look, I tried to imagine how dirt would accumulate and run in the rain. I dabbed blobs of the dark color with my little brush, then dragged the large brush with the light color in the direction of the rain, letting the paints smear together. You can try all sorts of techniques, like air brushing, sponging, and faux marbelizing. Once you've completely covered the foam with the latex paint, you can use spray paints and specialty paints that might otherwise dissolve the foam.

Here's a shot of some re-carved and re-painted retail tombstones.
